




Top 9 Fresh Flower Bouquets for 2026
Explore practical guidance for Top 9 Fresh Flower Bouquets for 2026 including common pitfalls to avoid with The Flower Boutique by your side.

The kitchen bench in Perth is already half set for a wedding delivery. Linen napkins wait by the door. Place cards are stacked in neat piles of 10. And in the middle of it all, you’re trimming stems into a bucket of cool water, hoping the bouquet will still look crisp when it reaches the venue.
That’s the moment where flowers either shine or surrender. If you’ve been searching for how to make fresh flower bouquets and wondering why yours droop by dinner, the problem usually isn’t bad luck. It’s sizing, stem prep, hydration, and how you handle heat, timing, and transport.
I’ve learned that the hard way on warm Perth Saturdays. I’ve seen delicate blooms fade after 20 minutes in direct sun, and I’ve seen simple chrysanthemums and gum hold beautifully because the basics were done right. Once you get those basics under your hands, your bouquets last longer, travel better, and look far more polished.
Before you buy a single stem, set up your finish line. This is the part people skip because it feels boring. It isn’t. The bouquet depends on the container, the water, and the space you build in.
To help you better understand how to make fresh flower bouquets, we've included this informative video from Regenerative Gardening with Blossom & Branch Farm. It provides valuable insights and visual demonstrations that complement the written content.
This rule saves more bouquets than any fancy flower hack ever will: choose the vessel first. A compact posy for a pint-size Mason jar needs shorter, lighter stems and a tighter shape. A wide ceramic vase can take more branching greenery, longer lines, and extra head weight.
I like to put the empty vessel on the bench before I even touch the flower buckets. That keeps me honest. You stop buying as if you’re styling the foyer of Crown Perth when you actually need a low arrangement for a dining table in Subiaco. And yes, even when several people start with the same Mason jar, each arrangement can still turn out completely different. Placement matters that much.
Pick the vessel first; the stems should fit the container, not the other way around.
You do not need a studio full of gear. You do need clean, sharp basics. Dull scissors crush stems. A grubby bucket clouds the water fast. And if you’re arranging for a funeral, wedding, or birthday dinner, scrambling for tools mid-build is how you snap the stem you needed most.
| Tool | Why you need it | Quick note |
|---|---|---|
| Sharp floral snips | Clean cuts help stems drink properly | Skip household paper scissors if you can |
| Clean bucket | Keeps stems hydrated while you work | Use cool water, not icy water |
| Flower food | Supports vase life after arranging | Follow packet strength, don’t guess |
| Chosen vessel | Sets the bouquet’s final size and shape | Test stem height against it early |
| Clean cloth or towel | Stops slips and catches stray leaves | Very handy in busy kitchens |
Flowers hate chaos. They also hate heat. If your bench sits in a hot west-facing window by 3 pm, move. A cool, shaded corner is better. So is a sink nearby. You want enough room to sort stems into loose groups: focal flowers on one side, fillers on another, greenery where you can grab it fast.
When I’m working for an event, I keep the workspace simple: one bucket for conditioned flowers, one bin for stripped leaves, one towel under the vessel. That little system keeps the pace calm — and calm hands make better bouquets.
Now you can choose stems with a plan instead of with your heart alone. I know, the heart always wants the fluffiest bloom in the bucket. But if you want a bouquet that still looks lively tomorrow, you need some stamina in the mix.
A strong bouquet usually has three jobs being done at once:
You can build wildly different bouquets from the same base materials. Swap white roses for peach roses, place eucalyptus low instead of high, or cluster filler on one side rather than sprinkle it everywhere, and the whole personality changes. That’s why two bouquets made from one flower run can still feel completely distinct.
Don’t buy every bloom fully open unless the bouquet only needs to look perfect for the next two hours. For a wedding on Saturday or a gift delivered before lunch, I like a mix: a few blooms open now for instant beauty, a few half-open for tomorrow, and some tighter buds that will ease out over the next day or two.
Hardier stems and greenery usually outlast very delicate flowers. That doesn’t mean you can’t use softer blooms. It means you shouldn’t build the entire bouquet from fragile petals if you want it to last.
For a longer-lasting arrangement, don’t build the whole bouquet from fragile petals.
Colour should suit the moment, not just your mood in the market. A sympathy bouquet often feels gentler in whites, greens, creams, or muted mauves. A celebration can carry citrus tones, coral, or brighter pinks. Weddings vary, of course, but the trick is restraint. Edit the palette first, then buy within it.
| Occasion | Palette direction | Best approach |
|---|---|---|
| Wedding | Soft repetition, not rainbow mixing | Use 2-4 main colours and repeat them |
| Funeral | Calm whites, greens, creams, muted shades | Keep the shape composed and respectful |
| Celebration | Brighter or warmer tones | Add contrast without making it noisy |
| Gift bouquet | Personal favourites or seasonal tones | Think about where it will sit at home |
This is where bouquet life is won. People love to fuss over ribbon and wrapping, then toss unprepared stems straight into a vase. Bad trade. Conditioning does more for longevity than expensive flowers do.
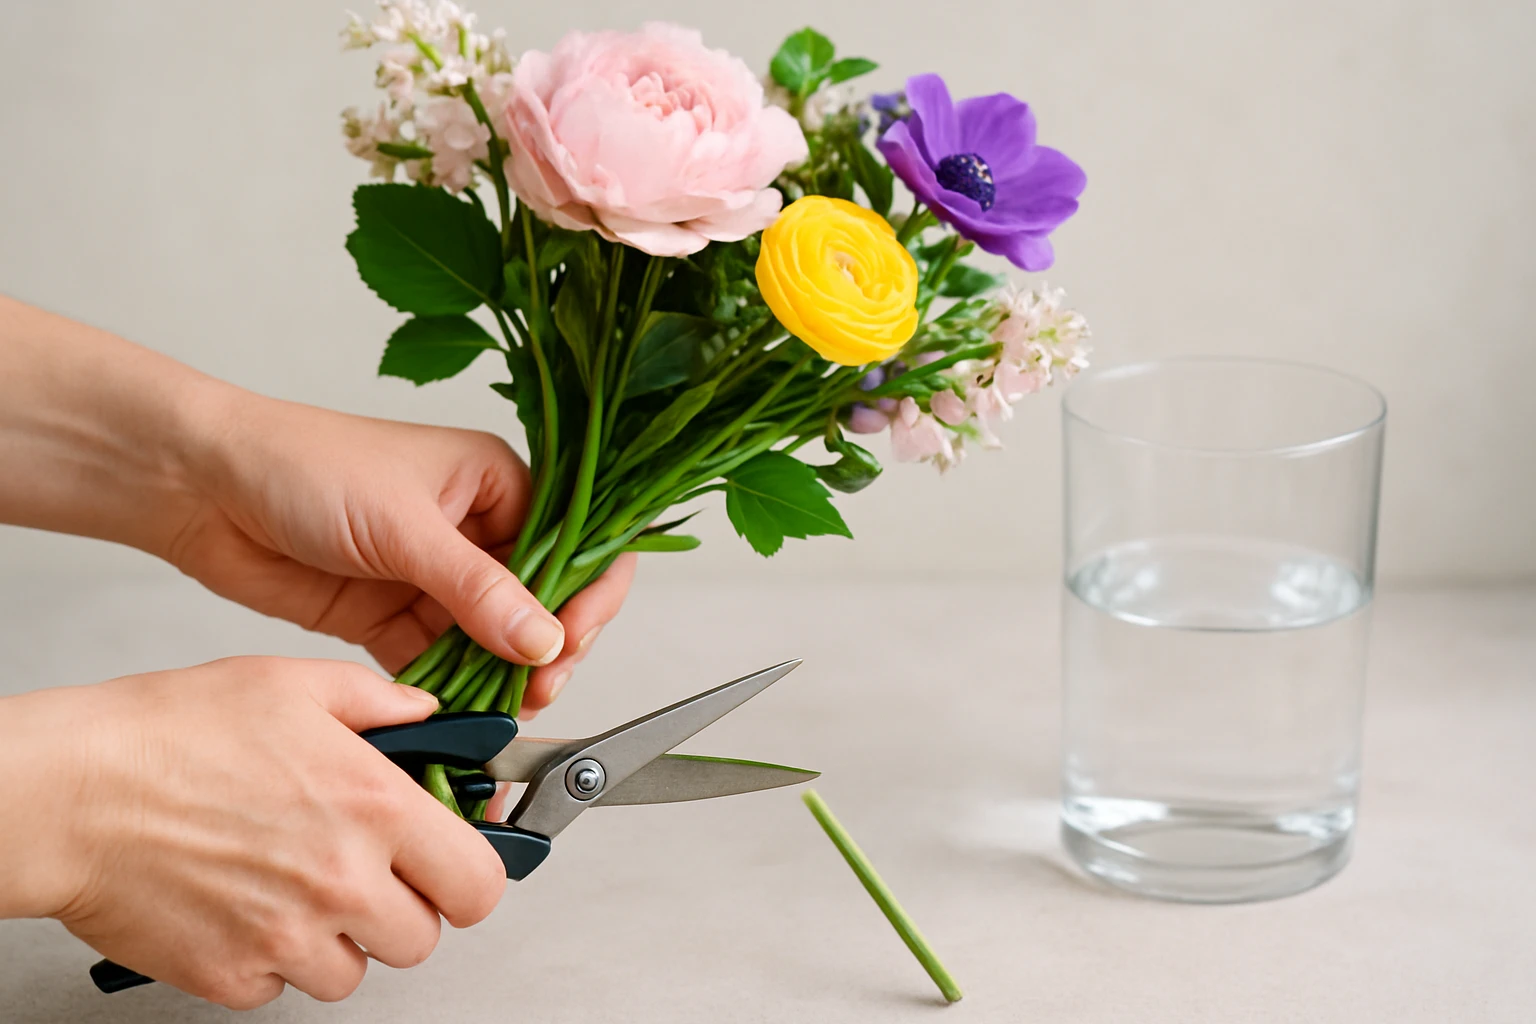
Cut each stem at an angle with sharp snips. A clean angled cut gives the stem more room to take up water than a blunt, flattened end. If the stems have been out of water on the drive home from Osborne Park or the market, re-cut them before anything else.
I usually trim in small batches so I’m not rushing. About 2 to 3 cm is often enough for the first cut, unless the stem end looks dry or crushed. The goal is fresh surface area, not aggressive chopping.
Strip off foliage that will sit underwater. Leaves below the waterline break down fast, make the vase water murky, and speed up rot. It’s one of those small jobs that feels fussy until you see the difference 24 hours later.
Be thorough here. On roses especially, a couple of hidden leaves can slip below the rim once the bouquet settles. Check again after you place the stems in the vessel.
After cutting and stripping, let the flowers hydrate before you arrange. Even 30 to 60 minutes in a clean bucket of cool water helps, especially in warmer months. If you’re prepping for a ceremony in Fremantle or a home delivery in Joondalup, this pause is worth it.
You’ll notice the stems feel firmer, the heads sit higher, and the bouquet is easier to control. That’s not glamour. That’s hydration.
Cut, strip, hydrate: that order does more for bouquet life than expensive flowers do.
Once the stems are conditioned, you can design with intention instead of wrestling a floppy bunch into shape. Think of structure first, decoration second.
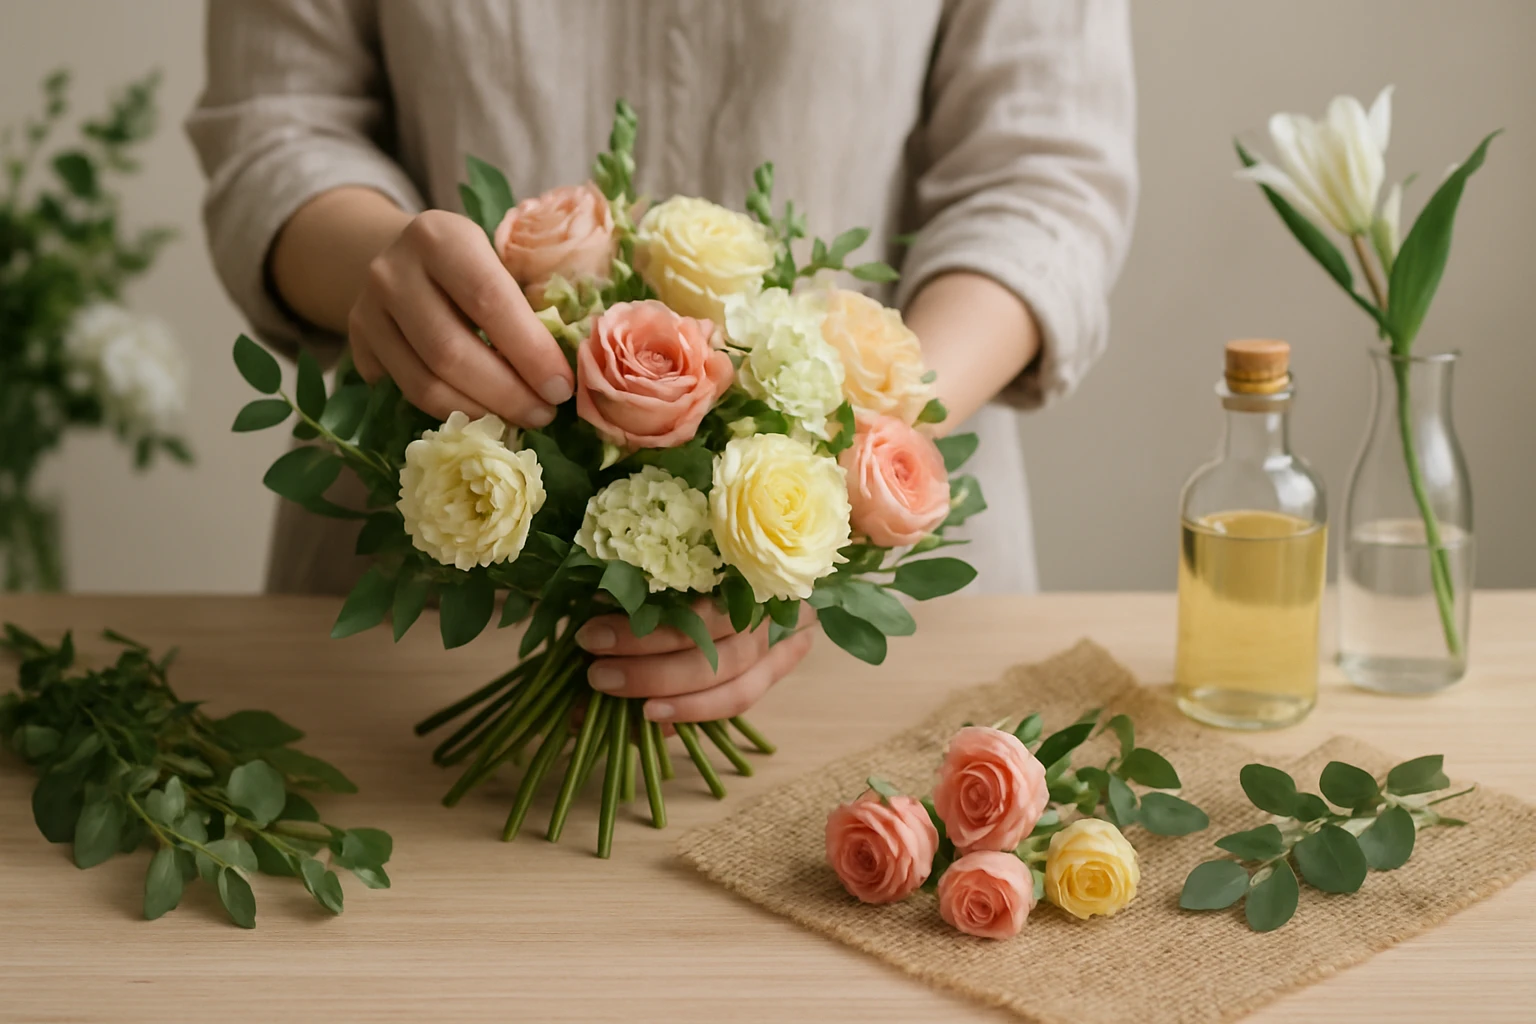
Begin with greenery or sturdy line stems to sketch the outline. This is the frame. If your vessel is small — say, a Mason jar or compact gift vase — keep the frame tighter and lower. A tall, heavy arrangement in a tiny jar almost always looks top-heavy, and often tips.
If you skip this stage and start with your prettiest blooms, you’ll end up forcing everything else around them. That usually creates lumpiness, not fullness.
Next, place your focal flowers. Not in a flat line. Not all at the same height. Give them a little stepping rhythm so the eye moves around the arrangement. One slightly forward, one a touch higher, one tucked back. That’s how you get dimension.
I tell clients to think “conversation,” not “soldier lineup.” Flowers look more natural when they aren’t all shouting from the exact same level.
Turn the bouquet constantly. Every few stems, rotate the vessel or the hand-tied bunch and check the profile. A bouquet can look perfect from the front and strangely bald from the side. You only notice if you turn it.
This matters even more for events. Guests in Claremont, South Perth, or at a church entrance won’t all view the flowers from your chosen hero angle. Balanced means balanced all the way around.
Let the container dictate the silhouette before you chase volume.
This is where a bouquet stops looking homemade in the accidental sense and starts looking intentional. Not stiff. Not overworked. Just edited.
If you’ve ever emptied a mixed bunch onto the bench and thought, “I’ll use everything,” you’re not alone. I’ve done it too. The result is usually busy. A bouquet looks more refined when two or three colours repeat in little echoes through the arrangement.
Try this simple rule: choose one lead colour, one supporting colour, and one neutral. For example, soft pink, white, and green. Or apricot, burgundy, and olive. That repetition reads polished far faster than trying to display every stem you bought at once.
A bouquet looks more expensive when the palette is edited, not crowded.
Texture is what keeps a bouquet from feeling flat. Round blooms like roses or chrysanthemums bring weight. Airy fillers like waxflower create movement. Linear stems like snapdragons or stock give direction. You want contrast, not sameness.
Using the same vessel doesn’t produce the same bouquet every time because these choices change the mood completely. Shift the texture balance, and the arrangement moves from formal to loose, from romantic to modern, without changing the container at all.
Fragrance is lovely until it isn’t. Strongly scented lilies on a dinner table can feel like too much. Heavily perfumed flowers near a memorial service or in a small indoor venue may not suit the setting either.
| Setting | Scent level | Practical tip |
|---|---|---|
| Dining table | Low to moderate | Keep arrangements low and fragrance gentle |
| Ceremony space | Moderate | Avoid overpowering blooms near seating |
| Gift bouquet | Flexible | Match the recipient and the room size |
| Funeral setting | Subtle | Choose calm, unobtrusive scent |
When in doubt, go easier on the perfume and stronger on colour and texture. That’s usually the safer call.
A bouquet can be beautifully built and still fall apart on the drive. Finishing is not cosmetic. It protects the shape you just worked for.
Once the bouquet is arranged, re-check the height against the vessel. If the stems are too long, the design looks loose and unstable. Too short, and the head of the bouquet sinks into the rim. Re-cut the bunch so it sits securely and proportionately.
As a quick guide, the flowers should feel visually anchored to the vessel, not perched on it like a hat. Small jars need shorter, lighter designs. That simple proportion rule matters even more when the bouquet has to travel.
If the bouquet will live in a vase straight away, top up with clean water and flower food. If you’re handing over a wrapped bouquet, secure the stems so they don’t splay during transport. For event work, I like to wedge vases in shallow boxes with towels around the base. Glamorous? No. Effective? Absolutely.
Perth heat is not forgiving. Keep finished bouquets cool, shaded, and away from direct sun, heaters, or hot cars until the very last minute. If you have air-conditioning, use it. If you don’t, pick the coolest room in the house and keep the flowers there.
I’ve seen perfectly good bouquets lose their edge on a 15-minute drive because they sat on a sunny passenger seat. Treat transport like part of the design process, because it is.
Treat transport like part of the design; if the stems shift, the whole bouquet loses its shape.
Most bouquet failures aren’t dramatic mysteries. They’re small, fixable errors stacked on top of one another. Here are the big three.
A pint-size Mason jar may look charming, but it won’t comfortably support a tall, heavy arrangement. When the vessel is too small, stems crowd each other, the top gets too heavy, and the whole thing can tip or twist.
If the bouquet looks unstable before transport, it will look worse after transport. Resize the arrangement or change the vessel. Don’t try to argue with physics.
This one is simple and still incredibly common. Submerged leaves spoil the water fast and shorten vase life. If your bouquet looks tired on day 2, cloudy water and hidden leaves are prime suspects.
Check once when conditioning. Check again after arranging. Stems settle lower than you think.
People often assume “more flowers” means “better bouquet.” Sometimes it just means a heavy, airless dome where petals bruise and stems compete for space. Give each flower room to show its face.
| Mistake | What happens | Better fix |
|---|---|---|
| Vessel too small | Top-heavy bouquet, tipping, cramped stems | Shorten stems or move to a wider container |
| Leaves in water | Murky water, faster deterioration | Strip below-water foliage before arranging |
| Overcrowding | Crushed petals and uneven shape | Edit stems and leave breathing room |
If the vessel is wrong, no amount of pretty flowers will save the bouquet.
A lasting bouquet comes from simple choices done properly: pick the vessel first, prep every stem, build a balanced shape, and keep it cool.
That is how to make fresh flower bouquets that still look alive when they reach a church in Fremantle, a table in Mount Lawley, or a friend’s front door.
Before you buy your next bunch, what would change if you chose the vase first and treated transport like part of the arrangement?
The Flower Boutique offers Personalised Flower Boxes, fresh and dried designs, plus event floristry for Perth weddings, farewells, parties, and meaningful gifting.
Explore Flower Boxes0 comments

