




Best 12 Dried Hydrangea Flower Arrangements 2026
Unlock actionable ideas for Best 12 Dried Hydrangea Flower Arrangements 2026 including common pitfalls to avoid with The Flower Boutique by your side.

On the kitchen bench, papery lavender stems scratch softly against brown paper while I trim them beside a shallow stone vase. Half the table is already set for tomorrow’s event — linen down, candles boxed, place cards waiting in a neat stack. This is the real moment you learn how to make dried flower arrangements: not when you’re pinning pretty ideas, but when the room has a deadline and the flowers need to look good long after the last guest leaves.
If you’ve ever had a delivery run late, a florist cancel, or a fresh centerpiece slump by noon, you already know the problem. Dried flowers give you something precious: control. You can build ahead, edit slowly, transport with less panic, and keep the arrangement as a keepsake instead of sweeping it off the table the next morning.
That was exactly the logic behind one published launch-party example. The florists kept falling through, the setup window was short, and the arrangement needed to last well beyond the event. Dried lavender ended up carrying the centerpieces. Honestly, that’s not a niche situation. It’s a very normal Tuesday in event work.
So let’s make this simple. We’ll walk through the tools, the stem prep, the shape, and the finishing details that stop a dried arrangement from looking dusty, cramped, or fragile. Whether you’re styling a wedding in Perth, preparing flowers for a memorial, or making a thoughtful gift, the same quiet rules apply.
To help you better understand how to make dried flower arrangements, we've included this informative video from Yes! Event Decor & More. It provides valuable insights and visual demonstrations that complement the written content.
Fresh flowers are lovely. They’re also bossy. They demand water, cool storage, careful timing, and a fairly tight event schedule. Dried flowers are different. Once you have them in hand, you can work the night before, or three nights before, without watching petals drop by the hour.
That’s why dried flowers shine when timing gets messy. In the launch-party example above, dried stems solved two problems at once: unreliable supply and a short setup window. I’ve leaned on dried material for the same reason when I’ve had 10 centerpieces to finish after dark and zero interest in babysitting buckets of fresh stock until dawn.
Some occasions suit dried flowers especially well. Weddings benefit because you can test a table design early and repeat it consistently. Funerals and memorials benefit because the arrangement can travel home with the family and keep its shape. Gifts benefit because they don’t ask the recipient to trim stems, find a vase, and remember the water two days later.
And no, dried does not mean stiff or old-fashioned. A soft mix of cream oats, bleached textures, and lavender can feel calm and elegant on a wedding table. A restrained arrangement in taupe, sage, and natural straw tones can feel gentle and dignified at a memorial service. A small bunch in a ceramic vase can make a lovely thank-you or housewarming gift.
| Occasion | Why Dried Works | What To Prioritise |
|---|---|---|
| Wedding | Can be made ahead and repeated across tables | Consistency, transport, all-angle viewing |
| Funeral or memorial | Lasts beyond the service as a keepsake | Calm palette, secure structure, easy handling |
| Celebration or dinner | Handles setup changes and warm rooms better | Scale, mood, table conversation space |
| Gift | Low maintenance and long-lasting | Thoughtful vessel, restrained size, finish |
Let’s be sensible here. “Lasting” doesn’t mean immortal. It means the arrangement holds its shape, color, and mood for months — sometimes much longer — if you keep it dry, out of harsh sun, and away from rough handling. Dried flowers fade. They can become brittle. They are durable compared with fresh flowers, not indestructible.
So when you design for longevity, think first about structure, then placement, then fragrance. Lavender may hold a bit of scent. Many dried stems won’t. What you’re really building is a piece that still looks poised after the ceremony, after the dinner, after the room is packed down.
If the schedule is tight, design for longevity first and fragrance second.
You do not need a studio full of gadgets. You do need the right few tools within arm’s reach before you start. Hunting for wire cutters halfway through is how stems snap, vases wobble, and your patience goes out the window.
| Tool | Why It Matters | Need It? |
|---|---|---|
| Floral snips or very sharp scissors | Clean cuts reduce crushing and splitting | Yes |
| Wire cutters | Useful for wired stems or tough dried material | Yes |
| Floral tape or twine | Keeps bundles secure during shaping or transport | Yes |
| Vessel | Creates the footprint and stability of the design | Yes |
| Stable work surface | Stops delicate stems rolling and breaking | Yes |
| Kraft paper or cloth | Catches bits and protects the table | Helpful |
| Transport box | Supports finished pieces in the car | Helpful |
If you’re buying online, follow the practical example from that launch-party project: test a few dried options before locking the final recipe. Size, color, and texture can look very different in person. I still do this with new suppliers, especially when I’m balancing a warm ivory vase against cooler stems.
A few extras make the process smoother. I like to keep tissue paper, soft twine, a small hand broom, and a tray or box nearby. That last one matters more than people think. The prettiest arrangement in the room can still arrive sideways if it slides around a boot on the drive from Subiaco to Fremantle.
Also choose a vessel with some visual weight. Lightweight glass can work, but a ceramic vase or a low, sturdy bowl is more forgiving. If the container tips easily when you add height, the arrangement will always feel nervous — and so will you.
Lay everything out before you touch the vase. Separate the stems into short, medium, and long piles. Then make a second rough sort by texture: strong structural stems in one area, airy fillers in another, and anything fragile off to the side where you can handle it gently.
Buy a little extra if your budget allows. Once dried stems are clipped down or wired into the design, there’s no easy reset button. You want enough material to test a layout, reject a few awkward pieces, and still finish with balance.
Buy a little extra—once dried stems are committed to the design, there’s no easy do-over.
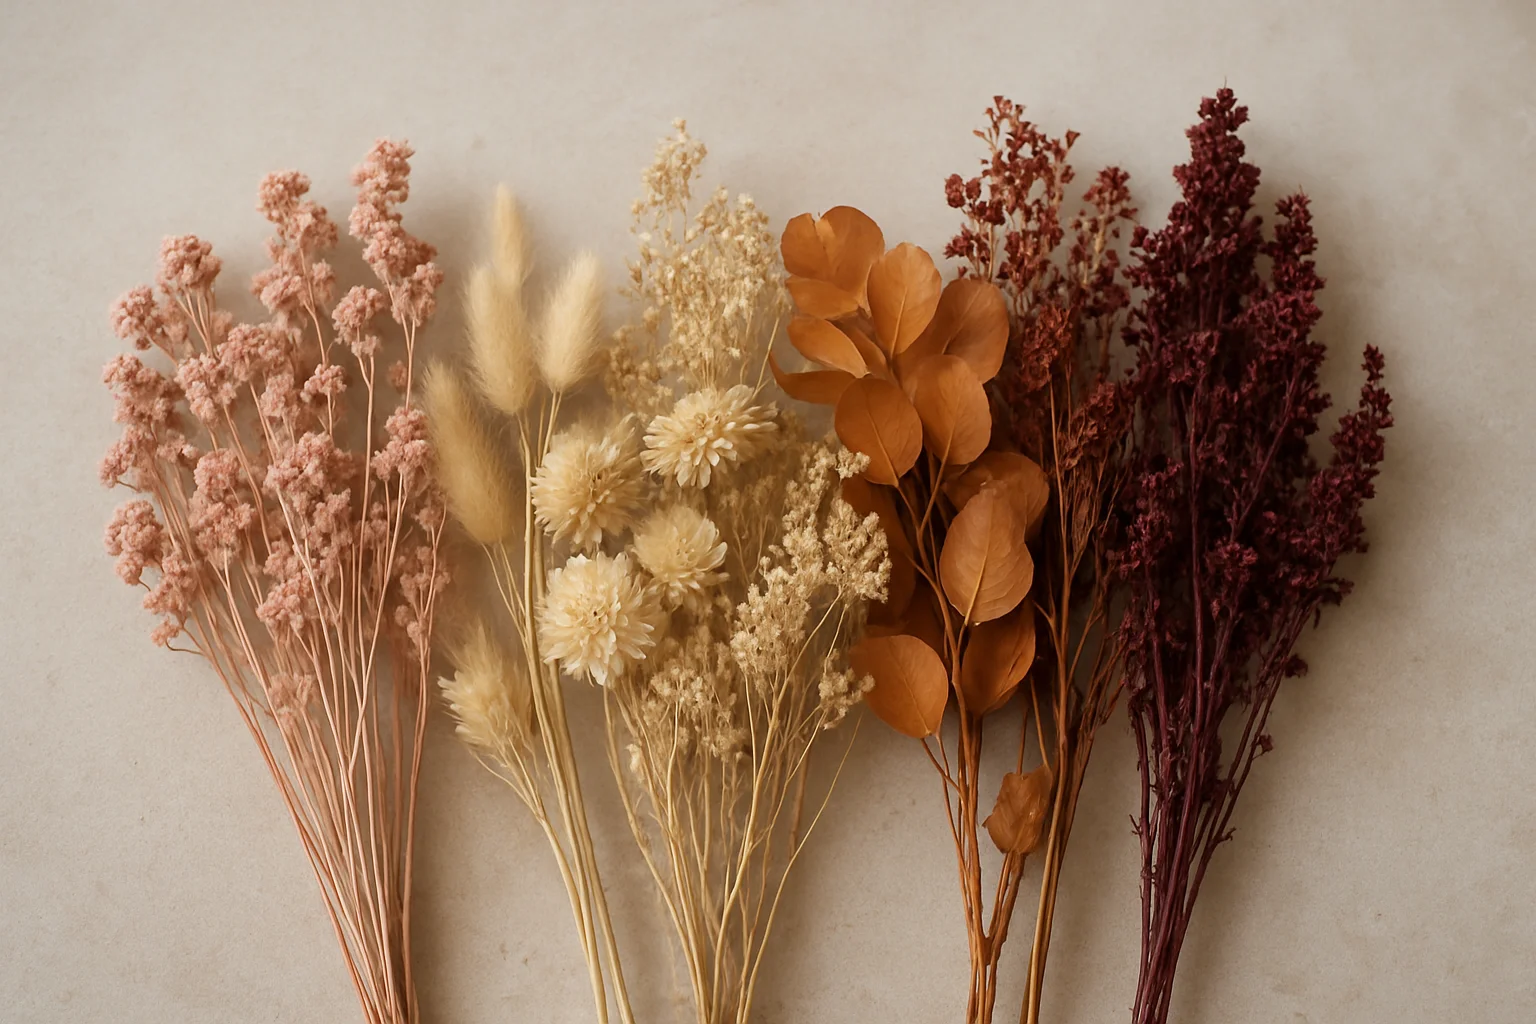
Start with mood, not with the shopping cart. Ask yourself what the arrangement is supposed to feel like. Quiet? Warm? Celebratory? Formal? For most dried designs, two or three main colors look more polished than a wild parade of every stem you could find.
Dried lavender is a perfect example of an anchoring material. In the reference launch setup, it became the defining choice for the centerpieces. That works because one strong stem can set the tone. From there, you only need supporting notes — maybe cream, wheat, soft grey, or muted blush — rather than five competing shades.
Color alone won’t carry a dried arrangement. Texture does a lot of the heavy lifting. Combine something upright, something airy, and something with a bit of body. Think line, cloud, and cushion. That mix keeps the piece from looking flat from across the room.
I usually avoid making every stem “special.” If everything is fluffy, dramatic, or oversized, nothing gets to lead. A better mix is one main texture, one softer filler, and one shape that breaks the outline a little. That’s where dried arrangements start to feel composed instead of crowded.
A low bowl wants width and a gentle sweep. A narrow vase wants height and a cleaner vertical line. If you ignore the vessel, the arrangement will either look top-heavy or oddly pinched. I’ve seen gorgeous preserved stems disappear because the container was too large, and I’ve seen small bud-vase quantities forced into a bowl the size of a fruit platter. Neither ends well.
Set the vase on the actual table if you can. A centerpiece for an eight-seat dinner reads differently at dining height than it does on a workbench. You want enough presence to matter, but not so much height that guests have to lean sideways to talk.
Keep the palette smaller than you think; dried flowers look more elegant when there’s room to breathe.
| Container Shape | What Usually Works | What To Avoid |
|---|---|---|
| Low, wide bowl | Fan or loose dome with outward movement | All height and no spread |
| Tall, narrow vase | Vertical lines with restrained side growth | Overstuffing the mouth of the vase |
| Small gift vase | Simple palette and fewer stem types | Too many textures fighting for space |
Dried stems can look sturdy while hiding split, hollow, or flaky ends. Give each one a quick inspection and trim off anything damaged before it goes near the vase. Use sharp snips, not blunt kitchen scissors that crush the stem. One clean cut is kinder than three hesitant ones.
Do this over paper or cloth because bits will fall. They always do. I keep a small broom beside me for exactly this reason. It’s a tiny habit, but it keeps the bench clear and stops delicate petals from getting mashed under your wrists while you work.
Now edit. If a stem has broken pieces, ragged leaves, or crushed flower heads, clean it up. You don’t need to strip it to perfection. You just want the stem to look intentional, not tired.
This is also where you notice differences between bunches. The reason comparing several dried options works so well — just as in the reference example — is that you can see which stems are too coarse, too short, too grey, or too fragile for the design you actually want. That judgment happens in your hands, not on a product page.
Once trimmed, make three piles: short, medium, and long. Within those, keep textured filler separate from stronger outline stems. When you build the arrangement, you’ll reach for exactly what you need instead of rummaging through a tangled nest.
This sounds fussy. It saves time. On a real event setup, especially when you’re making several matching pieces, sorted stems are the difference between calm repetition and frantic guessing.
Resist the urge to start with the pretty filler. Put in the tallest, strongest stems first. They define the height and tell you where the arrangement is going. Without them, you’re just decorating the rim of a vase and hoping a shape appears by accident.
This matters even more when the piece has to last after assembly. In that launch-party example, the arrangements weren’t just there to survive setup; they needed to hold up beyond it. A stable base starts that job.
Once the tallest stems are in, imagine an invisible triangle or fan. That simple framework gives the eye something to read. It’s one of the oldest floral tricks because it works. A triangle gives structure. A fan gives spread. Either one is much better than a shapeless mound.
For a centerpiece viewed from all sides, think soft balance rather than perfect symmetry. For a mantel, memorial table, or gift arrangement that will sit against a wall, you can bias the shape forward. Different use, different silhouette.
This is where many beginners get nervous and start stuffing. Don’t. Negative space is not emptiness; it’s breathing room. Dried material has beautiful outlines — seed heads, lavender wands, airy stems — and you lose all of that if every gap gets plugged.
Stand back two metres. Can you still read the shape? Good. If not, pull one or two stems out before adding anything else. I know that feels backward. It usually helps.
Don’t fill the vase mouth first; start with the silhouette.
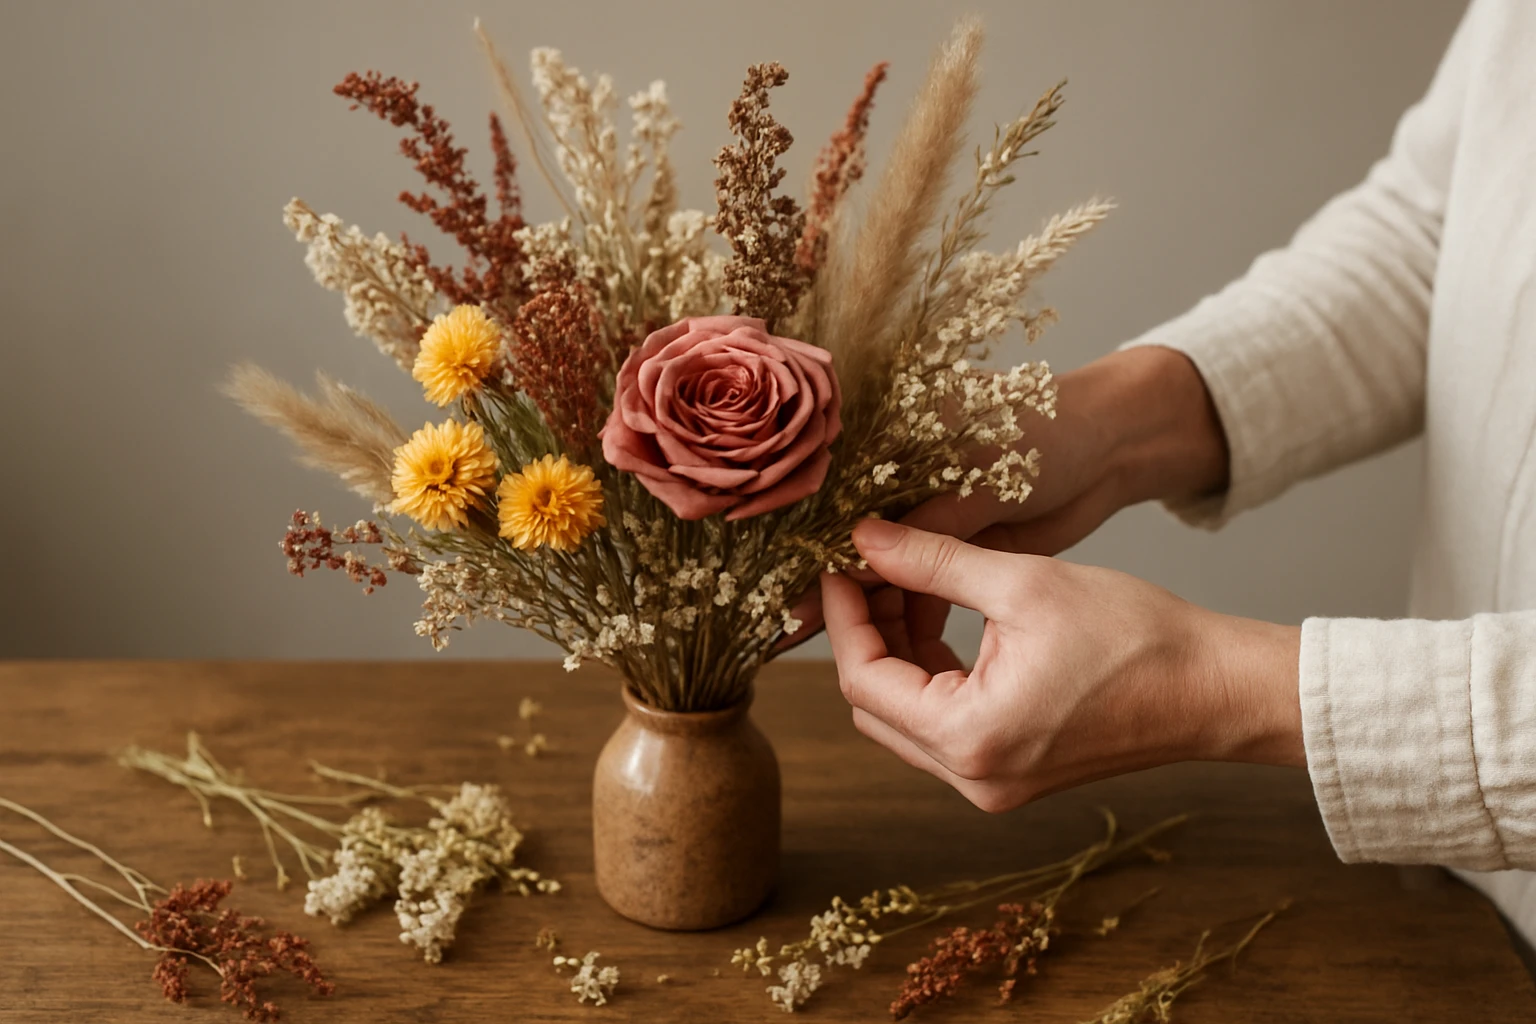
Once the structure is standing, add your strongest focal material slightly off-center. That small shift makes the arrangement feel more natural and less like it was measured with a ruler. Even when your anchor stem is something modest like dried lavender, you can still let one area lead and let the rest echo it.
If you place the boldest material dead center, the arrangement can look static. Move it a little left or right, then balance the opposite side with lighter texture rather than an exact copy.
Now use lighter stems to soften the transitions between your main lines. Tuck them into gaps, especially deeper inside the arrangement, not just around the outside edge. That builds depth instead of creating a fluffy shell.
Full does not mean packed. You’re aiming for enough material that the design feels finished, while still letting each stem keep its shape. If you can’t see where one material ends and another begins, thin it out.
Turn the vase a little after every few stems. Quarter turns are enough. This is the simplest way to catch a heavy side, a bald patch, or one odd stem poking out like it has its own agenda.
I also like to sit down and view the arrangement from chair height. A piece that looks balanced on the bench can suddenly seem lopsided once it lands on a dining table. Photos help too. Your phone is merciless in the best possible way.
If the design feels loose, secure it before moving on. A discreet tie of twine around a hand-tied bundle, or a bit of wire where the stems meet, can save the whole piece during transport. You do not need to lash every stem into submission. Just reinforce the points that want to shift.
For wide vessels, a simple support at the mouth helps keep the arrangement from splaying. The goal is quiet stability. Nobody should notice how it’s held together — they should only notice that it stays that way.
Before you call it finished, lift the arrangement carefully and check it from all the angles that matter: table height, standing height, doorway view, and photo view. Event pieces live in rooms, not just on workbenches.
This is especially relevant when you’re building ahead of time for a party or ceremony. Dried arrangements are wonderful because you can assemble them early, but that only helps if they still read well once they’re placed in the real setting.
Once the arrangement is done, protect it from the two big enemies: heat and hard sunlight. Both speed up fading and brittleness. A west-facing window in a Perth summer can do more damage than people expect, and a hot car dashboard is brutal.
Keep the piece shaded during the drive, supported inside a box, and away from heater vents or steamy rooms once it arrives. If the arrangement will live on after the event, tell the recipient that too. It’s useful information, not fussy instruction.
If it has to travel, build it sturdier than you think and trim the tallest stems before the drive.
Ordering several dried options to test is smart. Ordering everything in bulk before you’ve mocked up the design is not. In the reference example, extra stems were ordered during the testing stage and the return window was missed. I winced when I read that because many of us have done some version of it.
Mock up one arrangement in the actual vase first. You’ll learn very quickly whether the palette is too flat, the stems are too short, or the textures are fighting each other. That small test can save you money and a lot of muttering.
Dried stems are not plastic decor. Handle them like something with a little dignity. If you shove them, jam them, or keep rearranging the same stem five times, they will shed or snap. That matters on pale table linen and even more on a memorial table where you want quiet neatness, not debris.
If a material sheds heavily during your test, don’t force it into a high-traffic design. Save it for a shelf arrangement or swap it for sturdier stems in the event piece.
Short setup windows are exactly why people choose dried flowers in the first place, but that doesn’t mean you can leave ordering until the last second. Buy early enough to test. Then mark return dates and reorder dates on your calendar before life gets noisy.
If you’re working online, this is non-negotiable. Colors can skew warmer or cooler than expected, bunch sizes vary, and sometimes the first recipe simply doesn’t sing in the vase. You want time to correct that before the room is being set.
Mock up the arrangement before the event date—especially if you’re ordering online.
Lasting dried arrangements come from planning, a restrained palette, and gentle hands — not from cramming in more stems.
When you sort first, build the silhouette before the filler, and protect the finished piece from heat, it keeps its poise long after the chairs are stacked. That’s how to make dried flower arrangements that feel calm, intentional, and durable.
So what story do you want your next arrangement to keep telling after the day itself is over?
Personalised Flower Boxes and tailored fresh or dried designs help Perth weddings, funerals, celebrations, and gifting feel polished, personal, and easy to organise.
See Options0 comments

