




Top 10 Fresh Cut Flower Bouquets for 2026
Get proven strategies for Top 10 Fresh Cut Flower Bouquets for 2026 to help you plan with confidence using The Flower Boutique's expertise.

At dawn in Perth, a planner stands at a prep table trimming bouquet stems while the venue is still cool. Clean buckets wait by the sink. Towels are folded. The flowers sit wrapped in paper, quiet for now, while the room slowly wakes up.
If you have ever watched a bouquet look perfect at 8 a.m. and tired by lunchtime, you already know the problem. Fresh cut flower bouquets last longer when you treat them like something perishable — because they are. A little timing, a little temperature control, and a few unglamorous habits make a very real difference.
I learned this the hard way after leaving arrangements too early in a warm prep room before a Saturday reception in Fremantle. By guest arrival, the roses were still respectable, but the softer blooms had that slightly worn look you can spot from three tables away. Since then, I have treated bouquet care as a sequence, not a guess. You can do the same.
Good flower care starts before the bouquet is even arranged. This is the part people rush, especially when a wedding delivery lands at 10 a.m. and the ceremony starts at 1. Don’t rush it.
To help you better understand fresh cut paper flower bouquets, we've included this informative video from FreshCutPaperOFFICIAL. It provides valuable insights and visual demonstrations that complement the written content.
Keep your tools within arm’s reach before you unwrap anything. You want a smooth handoff from paper to prep table to water, not a scavenger hunt around the kitchen while stems dry out.
| Item | Why it matters | Quick note |
|---|---|---|
| Clean vase or bucket | Reduces bacteria in the water | Wash it first, even if it “looks fine” |
| Sharp floral shears or a knife | Makes clean cuts instead of crushing stems | Dull blades shorten bouquet life |
| Fresh, cool water | Supports hydration right away | Change it often |
| Flower food | Helps support hydration and slows bacterial growth | Use if supplied |
| Towel and bin | Keeps the workspace dry and tidy | Useful for leaves, ties, and wet paper |
Clean tools are a key part of good flower care.
Wash the vessel with warm water and a little dish soap, then rinse it well. No soap film. No old leaf bits stuck to the bottom. Dirty containers shorten bouquet life by encouraging bacteria, and bacteria is what blocks stems from drinking properly.
The same goes for your cutting tool. A sharp pair of floral shears gives you a crisp opening at the stem base. A tired blade crushes that tissue. Crushed stems drink poorly. Simple as that.
Start conditioning as soon as the bouquet arrives. Not after coffee. Not after you answer three texts. If flowers land in Claremont at 10:00 and you are not displaying them until 4:00, that is six hours you could spend rehydrating in a cool room instead of six hours losing ground.
If you are working at home, the same rule applies. A gift bouquet for Mum in Mount Lawley deserves the same first ten minutes as wedding florals do — clean vessel, fresh cuts, water, rest.
Before anything goes into water, slow down and look. Really look. Bouquets often hide trouble inside the wrap: bent stems, bruised blooms, foliage shoved too low, or a snapped stem that happened somewhere between the shop and your front door.
Peel away paper, plastic, and ribbon gently. If the bouquet is hand-tied and holding its shape nicely, you can leave the main binding in place at first. Just remove any outer packaging that traps moisture or presses petals inward.
I usually unwrap over a table or sink so stray leaves and paper don’t end up all over the floor. It sounds small, but a tidy setup keeps you moving faster when you have three centerpieces and a boutonniere still waiting in the wings.
Set aside anything that looks stressed. Bruised or crushed stems absorb water less effectively than clean, intact ones, so give those your attention first. If a stem has bent sharply near the top, it may not recover fully, and you are better off removing it than hoping it magically improves by dinner.
Look at the bloom heads too. A few flattened petals after transport are normal. A stem that feels mushy or looks split at the base is not.
Any leaf that will end up underwater needs to come off now. Leaves left in water break down quickly, cloud the vase, and feed bacteria. Keep the upper foliage that supports the look of the bouquet; remove only what will sit below the waterline.
If a leaf will sit in water, remove it now.
This is one of those steps people skip because the bouquet already looks “done.” Don’t skip it. After transport, wrapping, and a bit of air exposure, the stem ends need a fresh opening so they can drink properly again.
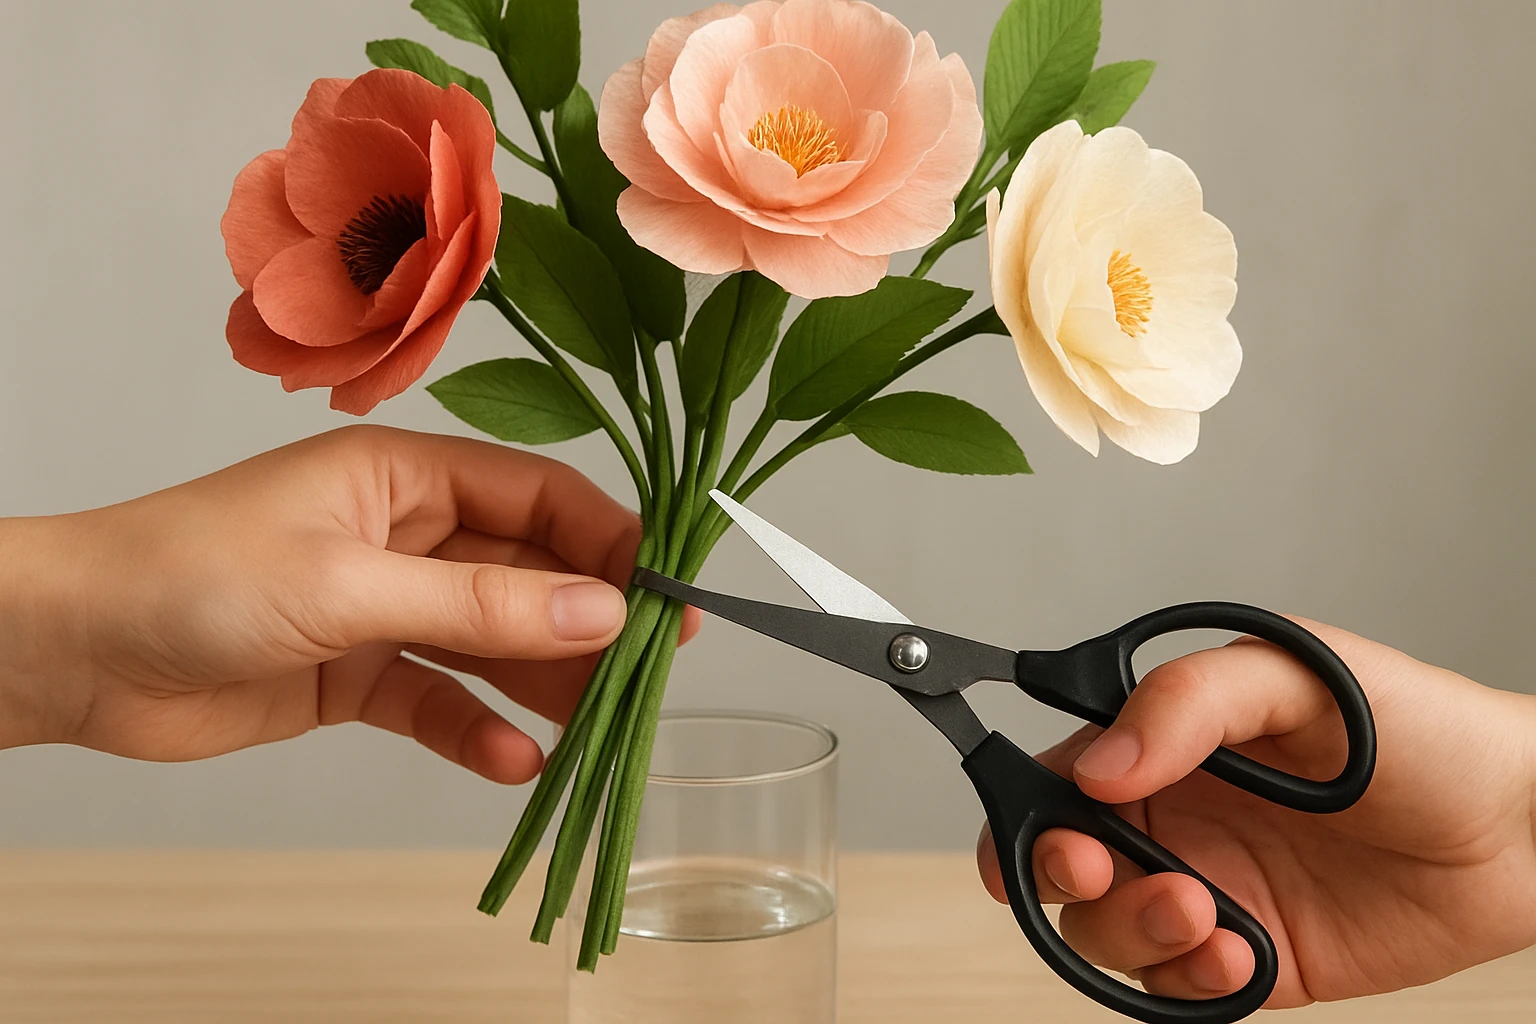
Use sharp floral shears or a knife and cut each stem on an angle. That angled cut gives the stem a clean surface for water uptake and helps prevent the flat base from sealing itself too snugly against the bottom of the vase.
You do not need a dramatic chop. You just need a clean one.
Usually, trimming 1 to 2 centimetres is enough if the ends still look healthy. If the base looks browned, squashed, or slimy, take a bit more. The goal is to expose fresh tissue, not cling to every last millimetre of length.
I know it can feel wrong to shorten a bouquet you paid good money for. I get it. But dead stem ends are not doing you any favours, whether the bouquet is headed to a birthday lunch in Victoria Park or a sympathy table in Nedlands.
Once you start cutting, move briskly. Recutting stems creates a fresh surface for water uptake, but that fresh surface dries out if you leave it sitting on the bench too long. In a warm Perth room, even a short delay matters.
If the bouquet has been out of water for a while, cut a few stems and place them straight into water before moving on to the rest. Batch work beats a long pause.
If the bouquet has been out of water for a while, recutting is one of the fastest ways to revive it.
Now give the stems what they have been waiting for. Not after photos. Not after the car is unpacked. Water first.
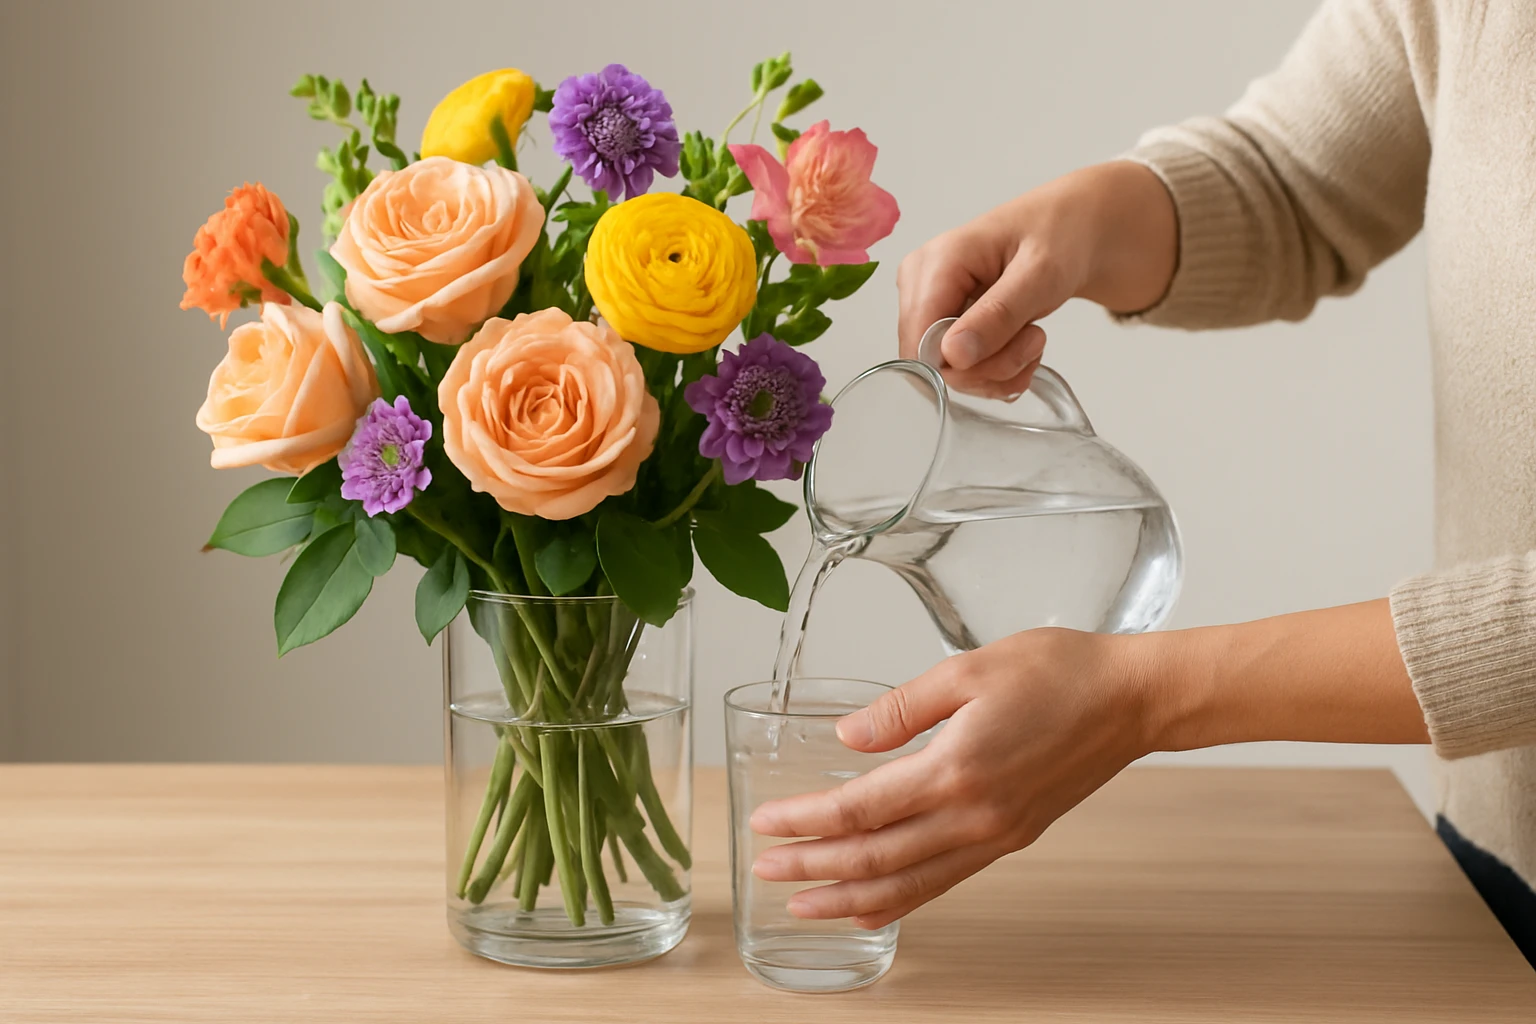
Use fresh, clean water and fill the vase or bucket enough to cover the lower stem ends well without drowning foliage. You want good contact, but you do not want leaves sitting below the surface.
For mixed bouquets, I usually aim for a sensible middle ground rather than overthinking every stem type. Plenty of water. Clean water. No leaf soup. That gets you most of the way there.
If flower food comes with the bouquet, use it. It can help slow bacterial growth and support hydration. Follow the packet directions rather than tipping in extra because “more must be better.” It usually isn’t.
No packet? Plain fresh water is still far better than a homemade concoction you found in a comment thread. I have seen more bouquets muddied by kitchen myths than helped by them.
Once the stems are trimmed and in water, leave the bouquet alone for a bit. Even 30 quiet minutes helps after a drive from Joondalup to South Perth. If you have the luxury of an hour or two in a cool room before setup, even better.
This resting time is especially useful before weddings, funerals, and larger celebrations. Flowers that have had a chance to rehydrate behave better when you finally place them on display. They sit cleaner. They open more evenly. They just look less stressed.
The shortest route to longer-lasting blooms is simple: cut, water, rest.
Placement matters more than people think. Perth heat can build quickly, and flowers do not care that the room looks gorgeous if it also feels like a slow cooker.
Direct sun speeds up flower aging and water loss. Even a soft-looking patch of morning sun near a window can warm the vase water faster than you expect. If you have a bright dining table and a shadier sideboard, choose the sideboard.
I have watched perfectly happy blooms slump by early afternoon simply because someone thought the sunny window would “show them off better.” It did. Briefly.
Hot air is rough on petals, but constant cold air blasting from a vent is no treat either. Strong airflow dries flowers out, rocks taller stems around, and can make a bouquet look unsettled. Busy doorways add temperature swings, bumps, and curious hands.
Also keep bouquets away from ripening fruit if you can. Ethylene from fruit — bananas are a classic culprit — can shorten vase life. It is not dramatic movie-scene sabotage, but it is real enough to matter.
For event work, late placement is one of the smartest habits you can build. Why let a bouquet sit in a warm function room for four hours if it only needs to be there for one? Keep it conditioned in the coolest safe spot, then move it in close to showtime.
If you are coordinating with a florist such as The Flower Boutique, ask how late final placement can happen. That one question can help protect wedding table flowers, funeral tributes, and celebration arrangements from unnecessary heat exposure before guests even arrive.
For event work, timing is preservation: the less time flowers spend in warm air before display, the better.
This is where a one-day bouquet becomes a longer-lasting arrangement. Daily care sounds fussy. It really isn’t. Think of it as a three-minute reset.
Check the water every day. In warm weather, some bouquets drink far more than you expect, especially thirsty stems like hydrangeas and larger leafy mixes. Top up when needed, and replace the water fully when it starts to look cloudy.
Changing water helps limit bacteria that block stems. If the bouquet is small enough to lift easily, take it to the sink, empty the vase, rinse it, refill it, and return the flowers. Done.
Take out fading blooms as soon as they lose their shape. Remove dropped petals and any leaves that have slipped below the waterline. A tired stem makes the whole bouquet look older, even when the rest is still lovely.
This is especially useful for mixed bouquets where one variety opens faster than another. Roses may still be cruising along while a softer bloom has had enough. Let the strong performers keep going.
If the bouquet seems to stall — drooping slightly, drinking less, or looking flat — give the stems another light trim and refresh the water. A small recut often helps more than people expect.
Do not wait for the whole bouquet to wilt; remove weak stems as soon as they fade.
Small problems are easier to solve early. One weak stem can drag down the look of an entire arrangement, especially on a dining table where everything sits at eye level.
If one stem starts drooping, pull it out and inspect the base. Recut it, place it back into clean water, and see how it responds. Sometimes a stem just needs a cleaner drinking surface and a bit less crowding.
If it still looks spent after that, remove it. Holding onto one failing bloom out of sentiment can make the whole vase look neglected by tomorrow morning.
Mixed bouquets often shift as they open. Heavier blooms lean. Taller stems arc outward. One side gets full while the other side looks sleepy. Adjust the placement inside the vase so the weight is supported instead of fighting gravity.
A narrower vase neck can help keep stems gathered. So can a simple rotation. I do this all the time with dahlias and big-headed garden roses once they start opening up.
If you spot browning petals before guests arrive, take action early. Remove visibly damaged blooms or discreetly reposition them toward the back. For some flowers, the outermost petals take the knocks during transport and can be removed if they spoil the look.
Do this before the bouquet is on display, not five minutes before the photographer starts shooting in Kings Park. Last-minute panic always shows.
Treat one wilting stem like a warning sign, not a small inconvenience.
Most bouquet failures come from a few predictable habits: dirty water, heat, and delayed care. The good news is that these are easy to avoid once you know what to watch for.
Leaves below the waterline break down quickly and encourage faster bacterial growth. Paper or plastic wrapping left around the base can also trap moisture in the wrong places and make cleaning harder. Strip the lower leaves. Remove the packaging. Keep the water clear.
If the vase was pulled from a shelf and filled without a wash, start over. Same if the water is cloudy and you keep topping it up instead of replacing it. Old water is one of the fastest ways to shorten the freshness window, whether the bouquet is a thank-you gift or a funeral tribute.
This one gets people every summer. A bouquet left in a parked car in Leederville at noon, or set up too early in a bright reception room, can lose freshness before anyone sees it. Hot transport conditions reduce freshness fast, and once flowers dehydrate, you are working uphill.
If the bouquet is only handled once, handle it well; most problems start with rushed setup.
| Mistake | What happens | Better move |
|---|---|---|
| Leaves left underwater | Water clouds faster and bacteria builds | Strip lower foliage before the stems go in |
| Dull cutting tool | Stem ends crush instead of opening cleanly | Use sharp shears or a knife |
| Warm display too early | Flowers lose water and age faster | Keep them cool and place them late |
| Old or dirty water | Stems block and blooms fade sooner | Change water and rinse the vase regularly |
One last practical note: if you are gifting flowers, pass these care steps on. A beautiful bunch handed over without a quick care reminder is like sending someone home with a cake and no plate. Helpful details matter.
And if you are planning something bigger — a wedding, memorial, or long lunch that runs straight through the Perth heat — build your flower timeline backward from the display moment. Not from the delivery moment. That one shift fixes a surprising number of problems.
Fresh cut flower bouquets last longer when you treat them like a timing-and-temperature job.
Clean tools, fresh cuts, fast hydration, cool placement, and a daily reset will carry a bouquet much farther — whether it is meant for a wedding table, a sympathy arrangement, or a heartfelt gift.
What bouquet is coming up next for you, and where can you create a cooler, calmer ten-minute window before it goes on show?
Personalised Flower Boxes and bespoke event floristry help Perth families and planners style weddings, funerals, celebrations, and gifts with ease.
Explore Boxes0 comments

